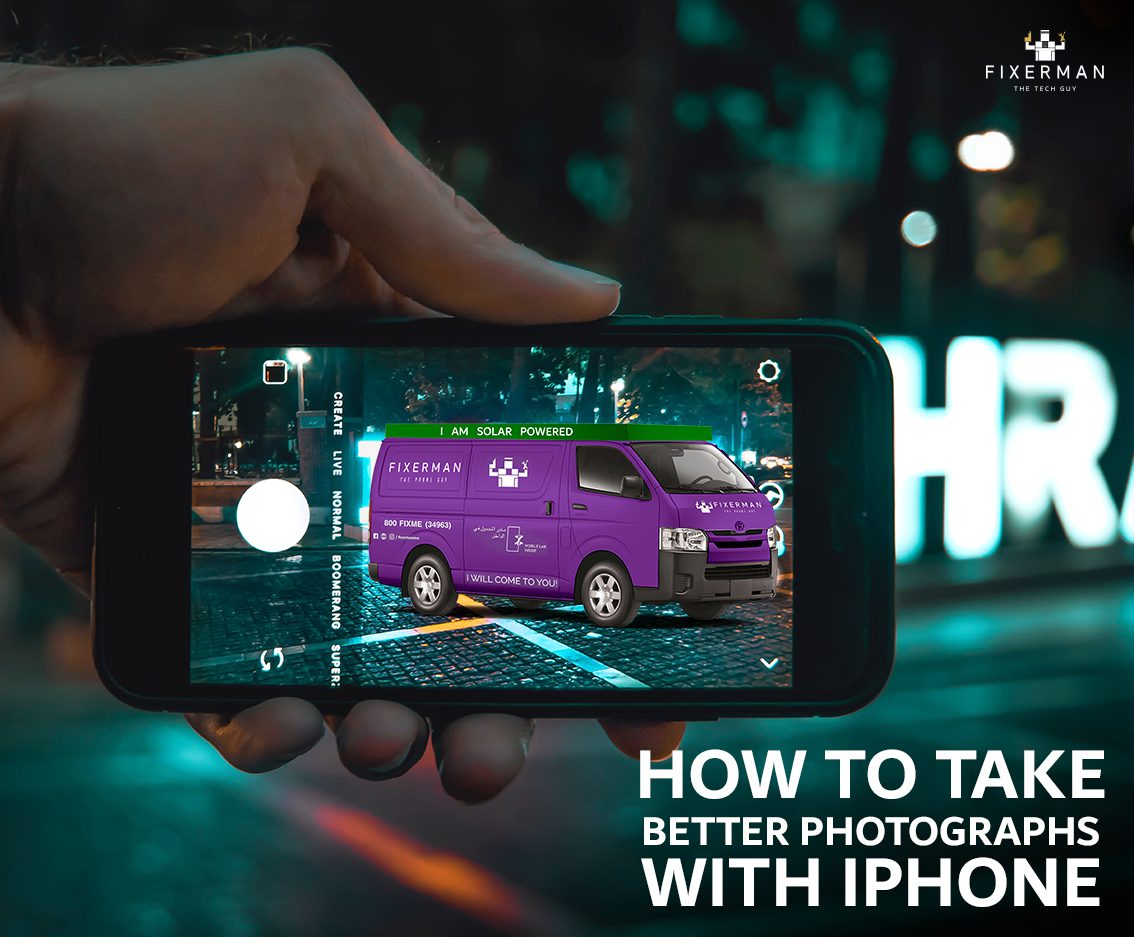
Just like a point and click led you to this blog, we’re going to talk about a different kind of point and click using your iPhone. You don’t need a fancy camera to make you a good photographer. The best photographers can take great pictures with whatever device they have in hand. So, for the time being, forget about that expensive DSLR you’ve been eyeing and check out our suggestions on how you can optimize your photography skills with just your iPhone.
- Don’t get rid of the Grid
It’s not uncommon for users to find those lines distracting, but they’re there for a reason. Here’s a quick lesson in Photography 101: you might have heard of “Rule of Thirds” — the golden rule of composition. Two horizontal lines and two vertical lines intersect to make up the grid on your view-finder. Position your subject right where these points meet for the best results.
- Focus & Exposure
Tap to focus is a low-effort but high-impact feature in your iPhone camera. It’s easy to forget but makes the difference between a lazy photograph and a sharp one. Once you’ve pressed to focus, use the same finger to slide up and down to adjust light exposure for your photograph. You can use this to brighten up darker photos and even play around with the mood of the subject using shadows.
- Ready, Set, Flash
Don’t think of flash as harsh lighting, this feature can work on subjects up to 7 feet. When shooting outdoors, let natural light do its magic. Instead, use flash indoors, in either cool or warm lighting. Play around with shadows and True Tone to align flash photographs with whatever ambient lighting surrounds you.
Pro Tip – Next time you snap a picture of your delicious lunch, turn of the flash! Food tends to photographs best in natural lighting.
- Lights… Camera… Portrait Mode
You’ll be surprised by how many professional headshots were taken with this feature! Switching to portrait mode in the view finder will give you a shot akin to that taken on a professional camera, all with the subject focus and blurred background. Once in portrait mode, the cube icon at the bottom gives you options for different lighting effects. Best used for those sentimental shots of your loved ones and furry friends. Portrait mode is available on all iPhone models 7+ and onwards.
- HDR
High Dynamic Range is an automated feature (you can change this in settings) that takes photographs at different exposures in quick succession to effectively merge them into the best shot. Apple says HDR is best used for high-contrast shots to give you the most vibrant photographs — all while keeping it natural.
- Give your photographs life with Live
Probably our favorite feature yet, the iPhone camera has a long exposure effect that truly brings life to your photographs. Live Photos has a “slow shutter effect” that captures overlaying motion while maintaining composition. It’s not exactly a photograph, but not a video either… it’s best described as a memory. Best used for flowing water, moving clouds, and rustling leaves.
Pro Tip – Use burst mode by pressing down on your shutter button. You’ll get a plethora of rapid succession snapshots to choose from. Best used when you don’t want to miss any live action shots of that cool skateboard trick, or just need a good jump shot.
- Zoom
iPhone’s zoom feature is a great for video recording, but we suggest to avoid it when taking photographs. Pinch to zoom closes in on your subject and crops the photograph at the same composition, giving you an overall lower resolution picture. You’re better off taking a regular photograph and cropping it yourself for a higher resolution image. This way you can go back and play around with the original image and you’re not left with a grainy shot.
- Dynamic Panoramics
We’ve all seen a sunset so beautiful that it’s almost a crime to take a regular portrait or landscape shot of it. That’s where Panorama comes in — and it’s more functional than you think. You’ve probably used the default left-to-right sweep but you can switch the direction by hitting the arrow.
Pro Tip – For neck-craning skyscrapers like our beloved Burj Khalifa, use Panorama in Landscape mode to capture the entire building within the frame.
- Shutter
If you tend to have shaky hands, it’s hard to keep a steady grip on your phone for capturing sharper images. Hold your iPhone with both hands and click the volume up button on the side to capture photos. You can even use your Apple earphones as a shutter clicker! You don’t have to wear them, just plug in the cable and click the volume button for your best candid selfies… no one has to know you took them yourself.
- Post-production
We like that iPhones process more natural photographs, low on beautification and over-saturation, instead relying on lighting to produce the best images. Apple gives users the options to play around their images after taking a photograph, where you can adjust exposure, colors, sharpness, and much more to your liking. Hit Edit on the top right of your photograph to explore these options.
Pro Tip – You can even choose different shutter effects of photographs by opening the image in Photos and sliding it upwards.